How to Clean a Septic Tank
1 July 2023
What is Pipe Lining?
1 September 2023How to Install Soakaway Crates
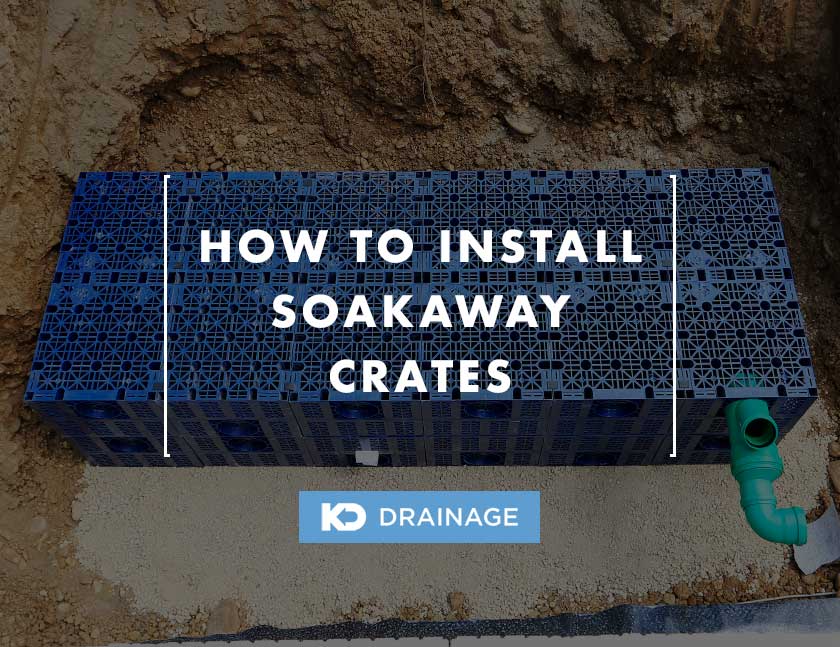
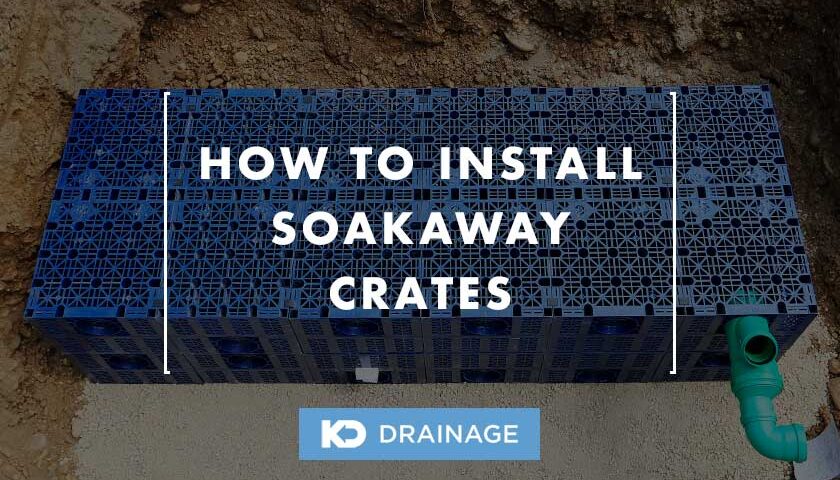
If your property suffers from a waterlogged lawn, installing a soakaway crate might be a serious consideration.
In the past, soakaway installations were typically made up of large pits filled with hardcore, stones, and gravel.
However, this method was not without its flaws.
Over time, soil particles would accumulate within the gaps between the stones, eventually rendering the soakaway ineffective.
Fortunately, recent advancements in technology have led to the development of modular water storage cells, also known as soakaway crates, which closely resemble old fashioned plastic milk crates.
As water management becomes an increasingly important factor for developers, homeowners, and local authorities, these plastic crates are now commonly used in various building projects.
When properly installed, plastic soakaways are much more efficient than their traditional hardcore counterparts.
In the following chapters, we outline the ideal location and size for your soakaway to ensure you install your soakaway correctly and effectively.
Table of Contents
Soakaway Location
Before installing a soakaway, it’s essential to choose an appropriate location to ensure its efficiency.
The first consideration is the type of soil present on your property.
Soakaways work most effectively in sandy or loamy soil that allows water to drain through it quickly.
Conversely, it’s not advisable to install a soakaway in clay soil as it does not allow water to permeate through it.
This can cause water to pool around the soakaway and eventually lead to flooding, which defeats the purpose of installing the soakaway in the first place.
In addition to soil type, the location of the soakaway is also crucial.
It’s best to choose a site that’s at a lower level than that of the building, or at the very least, on the same level.
This allows water to flow naturally towards the soakaway, preventing waterlogging and facilitating efficient drainage.
It’s also important to consider the proximity of any trees or large shrubs, as their roots can potentially cause damage to the soakaway over time.
Furthermore, it’s recommended to position the soakaway away from any potential sources of pollution, such as septic tanks, fuel storage tanks, or chemical storage areas.
This will help to prevent contamination of the surrounding soil and groundwater.
You should ensure that the soakaway is at least five meters away from any building foundations, as the movement of water can potentially affect the stability of the structure.
Soakaway Size
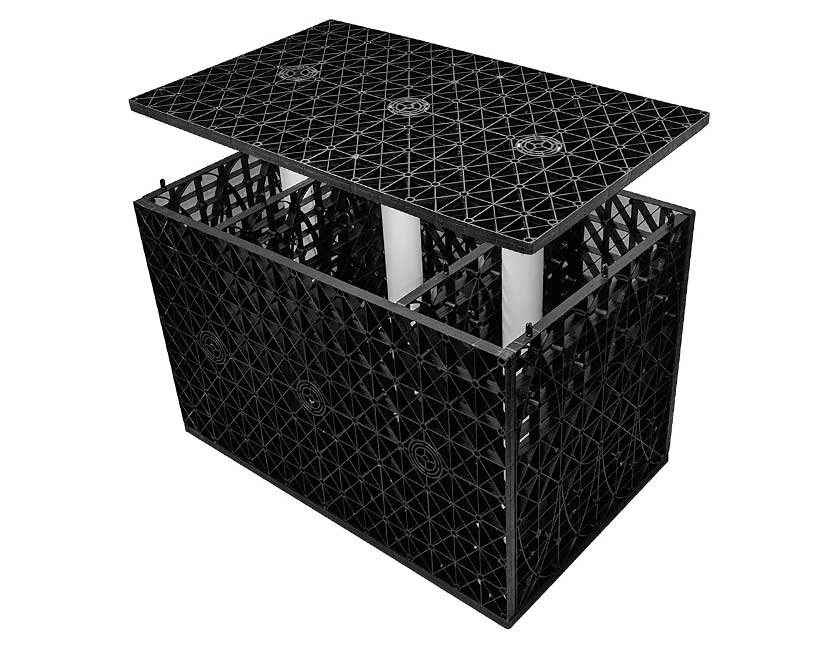
Black Soakaway Crate. Image credit: Amazon
The design of a soakaway is a critical aspect that should be carefully considered to ensure its proper functioning.
Various factors such as catchment area, consequences of flooding, permeability, and foundation design differ from site to site, making each design unique.
Therefore, it’s advisable to engage the services of a drainage company to design your soakaway appropriately.
Furthermore, if your soakaway is part of an extension or new build project, it’s critical to have the design checked by your local authority to ensure it meets the required standards and building regulations.
For those considering constructing a modular soakaway to replace their old hardcore version, a general rule of thumb is that a 1-cubic metre soakaway (measuring 1m x 1m x 1m) will typically suffice to drain a roof with a surface area of 50 square metres.
However, it’s important to note that this rule of thumb is only a guide and not absolute.
Other factors such as the rainfall intensity, soil type, and local topography can also affect the size and design of the soakaway.
In addition, it’s important to ensure that the soakaway has sufficient capacity to handle extreme rainfall events to prevent flooding.
Therefore, it may be necessary to design the soakaway with additional capacity or include overflow measures to prevent flooding during heavy downpours.
Soakaway Pre-Filters
We highly recommend considering the installation of a pre-filter before your soakaway to ensure its optimal functionality.
Although a geotextile membrane can prevent soil from the surrounding area from entering the soakaway, there’s still a chance that silt and debris may be carried through the stormwater pipe from the roof and gutters.
By installing a reliable silt filter trap, you can easily prevent these unwanted materials from clogging your soakaway and prolong its lifespan.
It’s important to note that maintaining the silt filter trap is a straightforward process that can be easily performed by homeowners.
Regular cleaning and maintenance of the filter will help ensure its continuous effectiveness in preventing silt and debris from entering the soakaway.
Soakaway Depth
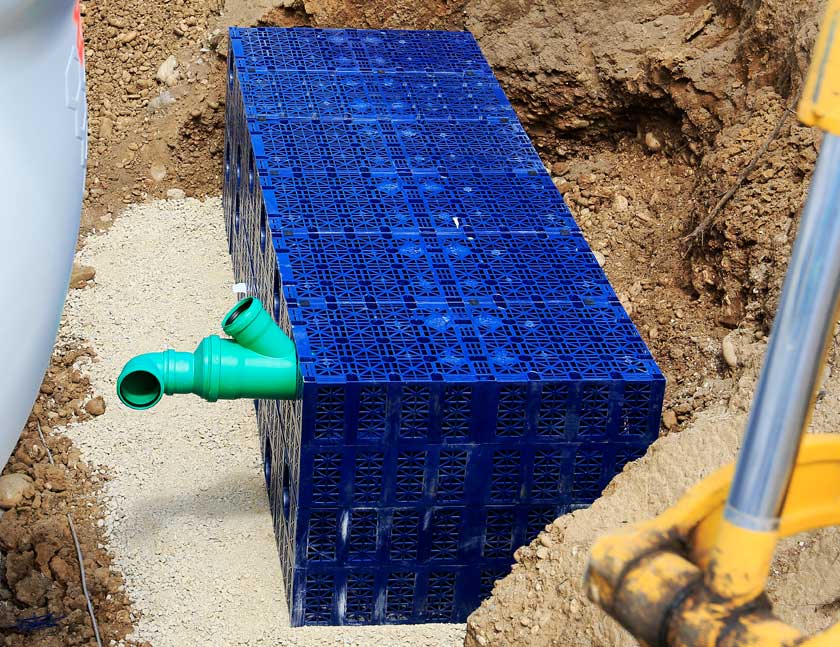
Soakaway Positioned Before Backfilling. Image credit: Shutterstock
The recommended depth for a soakaway will depend on several factors, including the local geology, soil type, and the design of the soakaway.
In general, a soakaway should be installed at a depth that allows it to effectively infiltrate the stormwater and prevent any potential flooding.
A common guideline is to install the soakaway at a depth of at least 1 meter below the ground surface.
This depth will typically provide sufficient capacity for the soakaway to accommodate the runoff during heavy rainfall events.
However, it’s important to note that the actual depth required may vary depending on the site-specific factors mentioned above.
It’s crucial to contact a qualified drainage company to design and construct your soakaway correctly.
They will be able to determine the ideal depth for the soakaway based on the specific site characteristics and ensure that the soakaway meets all necessary standards and regulations.
Installing a Soakaway
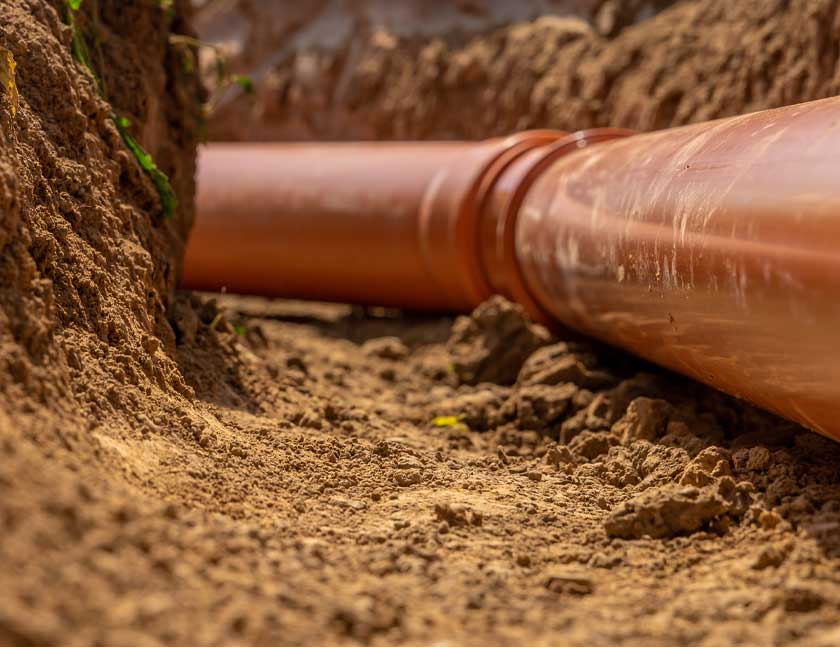
Pipework Trench. Image credit: Shutterstock
Modular soakaway crates are temporarily held together with either cable ties or clips, depending on the specific system being used.
However, it’s important to note that these ties or clips are only used to hold the crates in position during the installation process and do not serve any structural purpose in the design of the soakaway.
Before the crates are placed, a base layer of sharp sand measuring 150mm in depth should be laid in the excavation area.
This base layer will serve as a foundation for the soakaway crates.
To ensure the long-term effectiveness and integrity of the soakaway, it’s crucial that all outer faces of the crates be wrapped in a non-woven geotextile membrane.
This type of membrane allows water to permeate through into the void while preventing soil particles from being washed into the soakaway, which can drastically reduce its efficiency and lifespan.
There are two methods to wrap the crates with geotextile membrane.
One way is to wrap the crates as a whole after connecting them together.
The other way is to place the membrane centrally over the pit and gradually lower the crates down on top of it, allowing the membrane to be pushed down by the weight of the crates.
If you choose the latter method, ensure that the membrane is drawn up carefully around the sides to prevent any gaps.
After the wrapped crates have been lowered into the pit, the soakaway is connected to the surface water drainage system.
Depending on the system, the stormwater pipe is usually introduced into the side of any of the crates using pre-formed knockout sections or pipe entry points.
Alternatively, it can be butted up to the side of the crates.
If the pipe is butted up, it should be immediately supported by the side fill.
For best practice, a small amount of ready mix concrete should be poured around the joint.
Domestic soakaways typically use 110mm or 160mm pipe, although 100mm flexible land drain can also be used if required.
It’s essential to surround the pipe connection with geotextile membrane to prevent any soil particles from entering the system.
Begin by installing the membrane over the entire structure, then use a sharp knife to make a small cross in the membrane at the center of the entry point.
Gently peel back the membrane, insert the pipe, and securely tape or clamp the membrane around the exterior of the pipe to prevent soil particles from entering the system.
Backfilling & Finishing
To properly backfill the soakaway, it’s recommended to use a 150mm layer of either sand or pea shingle around the sides and above the top of the crates.
After this initial layer, an additional 150mm layer of the excavated soil should be carefully shoveled back into the excavation and firmly tamped down.
This helps to minimise the potential for depressions caused by ground settlement.
It’s important to note that this minimum cover requirement is suitable for soakaways installed in gardens.
For areas with light traffic, it’s advisable to increase the soil layer to 350mm on top of the 150mm sand or gravel layer to provide extra stability and support.
To complete the installation, the turf that was removed should be carefully replaced and pressed firmly into place.
In the days following the excavation, it’s possible that some depressions may appear, but these can easily be remedied by sprinkling a small amount of topsoil into the hollow and allowing the grass to grow through naturally.
Finally, it’s important to note that for soakaways installed in heavier traffic areas, such as car parks, the amount of top cover required will vary depending on the type of traffic.
For example, when using 65 tonne crates in car parks with vehicles weighing up to 9 tonnes, a minimum cover depth of 1 meter is recommended for optimal performance.
Conclusion
Due to the complexity of factors involved in designing and installing a successful soakaway crate, it’s highly recommended to contact a professional drainage company to ensure the proper soakaway installation and functioning of the system.
Contact one of the members of our team at KD Drainage for help.

